


There is something quietly intimidating about watercolour landscapes. The paper feels unforgiving. The paint moves on its own. The sky wash you imagined so clearly in your head suddenly blooms in ways you did not plan.
But here is the truth. Watercolour landscape painting is not about controlling every drop of water. It is about understanding how water behaves and working with it. Once you grasp that, the whole process becomes far less mysterious and far more enjoyable.
If you have ever wanted to try painting the outdoors in watercolour, this guide will walk you through it in practical, manageable steps. Whether you are a complete beginner or someone looking to refine your technique, you can build confidence with a few simple adjustments.
And yes, every material mentioned here is available at PNA stores, from watercolour paper and brushes to masking tape and professional watercolour paints.
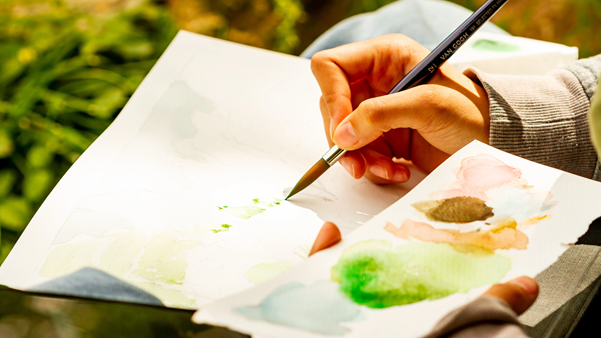
Start With the Right Materials
Before you even think about painting skies and distant hills, make sure your foundation is solid.
Watercolour paper matters more than you think. Use 300gsm watercolour paper. Lighter paper buckles too easily and makes it harder to control washes. Cold-pressed paper is ideal for landscape painting because it has a subtle texture that holds pigment beautifully.
Brush selection makes a difference. You do not need twenty brushes. A large round brush for washes, a medium round for general work, and a smaller detail brush will cover most landscape painting needs. Synthetic watercolour brushes are durable and excellent for beginners.
Paint quality affects your results. Student-grade watercolour paints are perfectly fine to start with, but if you are ready to level up, artist-grade paints offer richer pigment and better transparency.
All of these watercolour painting supplies are available at PNA, along with palettes, masking tape, mixing trays, and water containers. Having good tools removes one layer of frustration straight away.

Step 1: Mastering the Sky with a Soft Wash
In most watercolour landscapes, the sky sets the tone. If the sky feels flat or patchy, the entire painting struggles.
This is where the wet-on-wet technique comes in.
Lightly wet the sky area with clean water. Not soaking. Just evenly damp. Then drop in diluted blue paint and let it move naturally. Tilt the paper slightly if needed. The key is to avoid over-brushing. Watercolour painting works best when you let gravity and water do some of the work.
For softer clouds, lift pigment gently with a clean, damp brush or tissue while the paint is still wet. Resist the urge to fiddle.
Remember, skies are usually lighter at the horizon and slightly deeper overhead. That subtle value shift adds realism immediately.
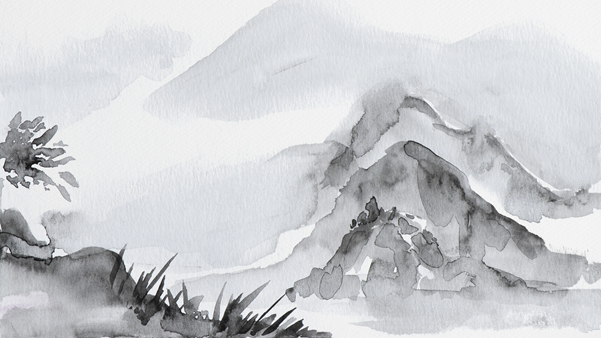
Step 2: Creating Depth with Distant Hills
One of the biggest mistakes in beginner watercolour landscape painting is making everything the same strength and detail.
In reality, distant objects are lighter, cooler, and softer.
Mix a diluted version of your hill colour. Often this is a muted blue, blue-grey, or violet. Paint the furthest hills first and allow them to dry before adding layers in front.
As hills come closer, increase the pigment strength slightly. This gradual build-up creates atmospheric perspective and depth without needing complicated techniques.
Water control is crucial here. Too much water and the shapes bloom uncontrollably. Too little and you get harsh edges. Aim for a milky consistency for distant layers.
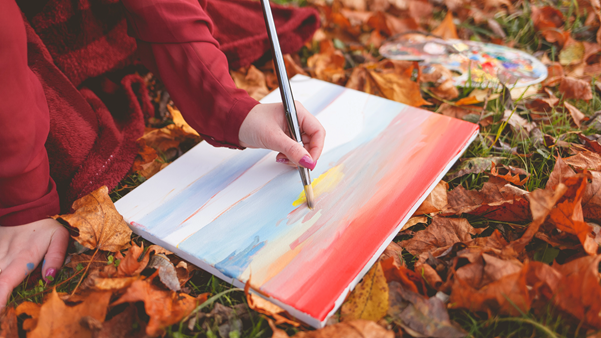
Step 3: Building Structure Through Value Shifts
Watercolour landscapes are not about outlines. They are about light and shadow.
Squint at your reference photo or real-life scene. When you squint, detail disappears and you see simple light and dark shapes. That is what you should paint.
Identify:
- The lightest area
- The mid-tones
- The darkest shadows
Work from light to dark. Let each layer dry before adding stronger values. This layering process is what creates convincing depth in watercolour landscape painting.
If you jump straight to dark tones too early, you lose the sense of air and atmosphere.

Step 4: Foreground Detail Without Overworking
Foreground elements bring a landscape to life. Trees, grasses, small architectural details, rocks.
This is where wet-on-dry technique becomes useful.
Allow your background layers to dry completely. Then use a smaller brush with more concentrated pigment to add sharper shapes and texture.
But here is the important part. Do not paint every leaf. Do not outline every blade of grass.
Suggest detail rather than describe it. A few well-placed brush marks can communicate far more than endless small strokes.
Overworking is the fastest way to muddy colours in watercolour painting. When in doubt, stop earlier than you think you should.

Observing Light and Colour Temperature
If you want your watercolour landscapes to feel believable, pay attention to colour temperature.
Warm colours advance. Cool colours recede.
A warm golden foreground with cooler blue-grey mountains instantly creates depth. A warm sky near sunset can contrast beautifully with cooler shadows in the landscape.
Instead of painting grass as just green, look closely. Is it more yellow-green in sunlight? More blue-green in shadow? Subtle temperature shifts create atmosphere.
This habit of observation is what separates flat paintings from atmospheric ones.

Simplify the Scene
One of the biggest challenges in landscape painting is deciding what not to paint.
When you stand outdoors, there is visual information everywhere. Trees, branches, buildings, fences, texture. Trying to capture all of it usually leads to confusion on paper.
Simplify shapes into large masses first. Big sky shape. Big land shape. Major shadow shapes. Once those are established, you can decide where small details actually add value.
This approach makes watercolour landscapes feel intentional rather than chaotic.

Practising With Confidence
Watercolour landscape painting is a skill. It improves with repetition.
Try small studies instead of large sheets at first. Paint quick sky studies. Practise just hills and depth. Experiment with wet-on-wet and wet-on-dry techniques separately before combining them.
The more you understand how water and pigment interact on watercolour paper, the less intimidating the process becomes.
And when you are ready to restock or upgrade your art supplies, PNA has everything you need. From watercolour paper and artist brushes to masking fluid, palettes, watercolour paint sets, and sketchbooks, their stores support artists at every stage. Whether you are experimenting for the first time or refining your watercolour landscape technique, the right materials make the journey smoother.
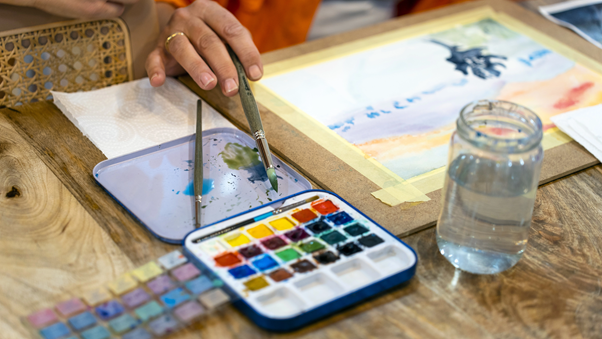
Painting the Outdoors Is About Seeing Differently
At its core, landscape painting in watercolour is not about copying a photograph. It is about observing light, simplifying shapes, and allowing water to create organic transitions that no other medium quite matches.
The unpredictability that once felt frustrating becomes part of the charm.
Start simple. Choose good paper. Control your water. Work in layers. Observe temperature shifts. Add detail thoughtfully.
With practice, watercolour landscapes stop feeling intimidating and start feeling meditative.
And when you are ready to begin, you will find all the watercolour painting supplies and art materials you need at your nearest PNA store.