
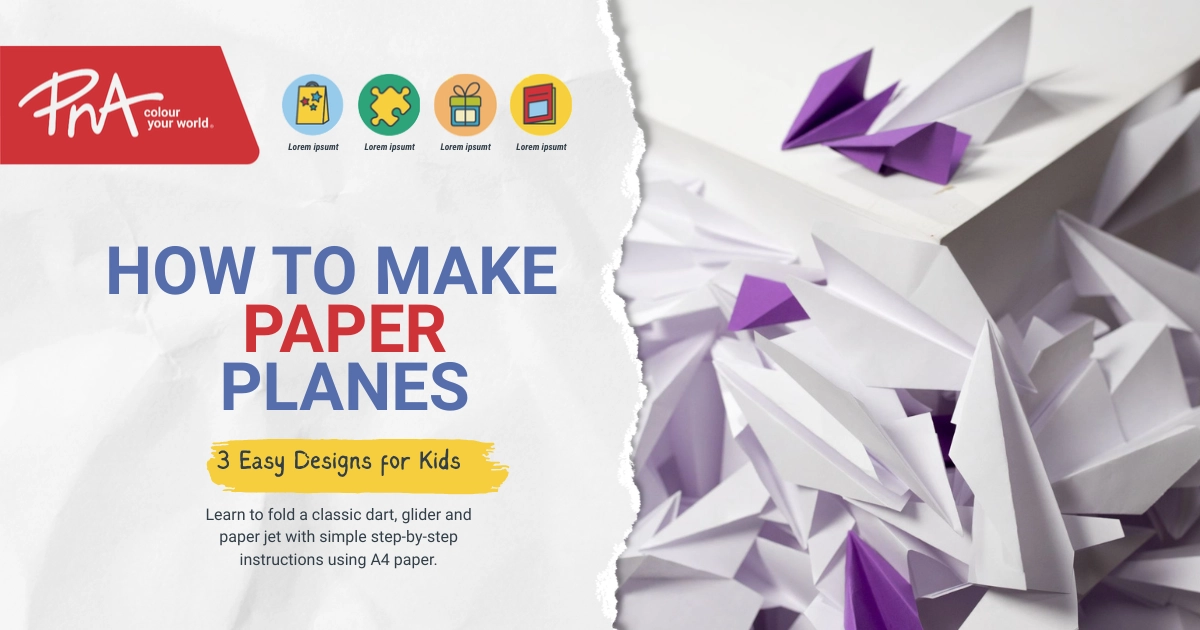
Learning how to make a paper plane is a fun, simple activity that only requires a sheet of paper and a few folds. To make a basic paper plane, fold an A4 sheet in half lengthways, bring the top corners to the centre line, fold the new edges towards the centre again, and fold down the wings.
Paper planes are a great way to keep children entertained at home or in the classroom. They also introduce basic concepts such as aerodynamics, balance and how different shapes affect movement through the air.
In this guide, we’ll show you how to make three easy paper plane designs: a classic dart, a glider and a paper jet.
What Do You Need to Make a Paper Plane?
All you need to make a paper plane is a rectangular sheet of paper, preferably standard A4 paper. Lightweight paper is easy to fold and works well for most beginner designs.
For the best results, gather:
- A4 paper, preferably around 80 GSM.
- A flat surface for folding.
- A ruler to help create neat creases, if needed.
- Colouring pencils or markers to decorate your finished plane.
You can also experiment with different paper sizes to see how they affect your plane’s flight.
For more information about paper dimensions, read our Paper Sizes Explained: A4, A3, A5 and More guide.
How to Make a Classic Dart Paper Plane
The classic dart is one of the easiest paper planes to make. Its narrow, pointed design helps it travel quickly through the air, making it a good choice for beginners and distance challenges.
Step-by-Step Instructions
- Fold the paper in half. Place an A4 sheet vertically on a flat surface. Fold it in half lengthways, then unfold it to create a centre crease.
- Fold the top corners inward. Bring the top left and right corners towards the centre crease, forming a point at the top.
- Fold the edges towards the centre again. Take the two new sloping edges and fold them inward so they meet along the centre line.
- Fold the plane in half. Fold the paper along the original centre crease, keeping the folded sections on the outside.
- Create the wings. Fold each side down so the top edge of the wing runs roughly parallel to the bottom of the plane.
- Adjust the wings. Open both wings slightly so they are even and extend outward from the body.
Your classic dart paper plane is ready to fly!
Flying tip: Hold the plane near its centre and launch it forward with a smooth, level throw.
How to Make a Paper Aeroplane That Glides
A paper glider has wider wings than a dart, allowing it to travel more slowly and float through the air. This design is ideal for children who want to experiment with longer, gentler flights.
Step-by-Step Instructions
- Place an A4 sheet vertically and fold it in half lengthways. Unfold it to reveal the centre crease.
- Fold the two top corners inward until they meet at the centre.
- Fold the pointed top section down towards the bottom of the paper, leaving a small gap above the bottom edge.
- Fold the upper left and right corners inward towards the centre, leaving a small triangular flap visible underneath.
- Fold the small triangular flap upward to secure the two folded corners.
- Fold the entire plane in half along the original centre crease.
- Fold down each wing, leaving a narrow body underneath.
- Open the wings so they are level and gently bend the rear edges upward if needed.
Your paper glider is ready for its first flight.
Flying tip: Launch your glider gently rather than throwing it forcefully. A smooth release can help it stay in the air longer.
How to Make a Paper Jet
A paper jet is a pointed paper aeroplane designed for a stable, forward flight. Its narrow wings and streamlined shape make it a fun alternative to the classic dart.
Step-by-Step Instructions
- Place an A4 sheet vertically on a flat surface.
- Fold the paper in half lengthways, then unfold it.
- Fold both top corners inward until they meet along the centre crease.
- Fold the new diagonal edges towards the centre again to create a longer, narrower point.
- Fold the pointed edges inward once more, keeping the folds neat and symmetrical.
- Fold the entire plane in half along the original centre crease.
- Fold each wing down, leaving a narrow body that you can hold.
- Open the wings evenly and make small adjustments to ensure both sides match.
Your paper jet is ready for take-off!
Flying tip: Try launching the jet with a firm, level throw. Adjust the wings if it turns sharply or dives towards the ground.
How Can You Make a Paper Plane Fly Further?
To help a paper plane fly further, use lightweight paper, create sharp folds and make sure both wings are symmetrical.Small adjustments to the wings can improve stability and help the plane travel more smoothly.
Here are a few tips:
1. Use the Right Paper
Standard 80 GSM A4 paper is a good starting point because it is lightweight and easy to fold.
Very thick paper can be difficult to crease, while extremely thin paper may lose its shape during flight.
2. Make Sharp, Accurate Folds
Press down firmly along each fold to create a clean crease.
Uneven folds can affect the plane’s balance and cause it to turn unexpectedly.
3. Keep the Wings Even
Check that both wings are the same size and positioned at similar angles.
If one wing is higher than the other, the plane may turn to one side.
4. Adjust the Wing Tips
If your plane keeps diving, try bending the rear edges of both wings slightly upward.
Make small adjustments and test the plane after each change.
5. Experiment With Your Throw
A dart may perform better with a firmer throw, while a glider often benefits from a gentler launch.
Try different throwing angles to see which produces the best results.
Which Paper Plane Design Is Best?
The best paper plane depends on whether you want speed, distance or a slow, floating flight. A classic dart is a good all-round option, while a glider is better suited to gentle flights.
| Paper Plane | Main Feature | Best For |
|---|---|---|
| Classic Dart | Narrow, pointed design | Beginners and distance challenges |
| Paper Glider | Wide wings | Slow, floating flights |
| Paper Jet | Streamlined, pointed shape | Fast, stable flights |
Try making all three designs and comparing how they perform.
You might be surprised by how much a few small folds can change the way a paper plane flies!
How Can You Organise a Paper Plane Challenge?
A paper plane challenge is a simple classroom or holiday activity where children compete to see whose plane flies the furthest, stays airborne the longest or lands closest to a target.
Divide children into small groups and ask each group to create a paper plane.
Then organise three challenges:
- Distance challenge: Measure how far each plane travels from the starting line.
- Accuracy challenge: Place a target on the floor and see whose plane lands closest.
- Hang-time challenge: Time how long each plane stays in the air.
Children can record their results and experiment with different folds to improve their designs.
For an extra creative activity, let them decorate their planes using colouring pencils before the competition.
Always fly paper planes in a clear area, away from people’s faces and breakable objects.
Frequently Asked Questions About Paper Planes
What Is the Easiest Paper Plane to Make?
The classic dart is one of the easiest paper planes for beginners. It uses a few simple folds to create a pointed nose and two wings. Standard A4 paper works well for this design.
What Paper Is Best for Making Paper Aeroplanes?
Standard A4 paper weighing approximately 80 GSM is a good choice for most paper aeroplanes. It is lightweight, easy to fold and holds its shape reasonably well during flight.
Why Does My Paper Plane Keep Nosediving?
A paper plane may nosedive because its wings are uneven, its nose is too heavy or its flight angle needs adjusting. Try bending the rear edges of both wings slightly upward and launching the plane more gently.
Get Creative With PNA
Making paper planes is a simple way to encourage creativity, problem-solving and hands-on learning.
Whether you’re planning a classroom challenge, looking for an easy school holiday activity or spending a creative afternoon at home, all you need is some paper and a little imagination.
At PNA, you’ll find a wide range of stationery, paper products and creative supplies for your next activity.
Explore PNA’s project paper pads and get ready for your next creative project.