
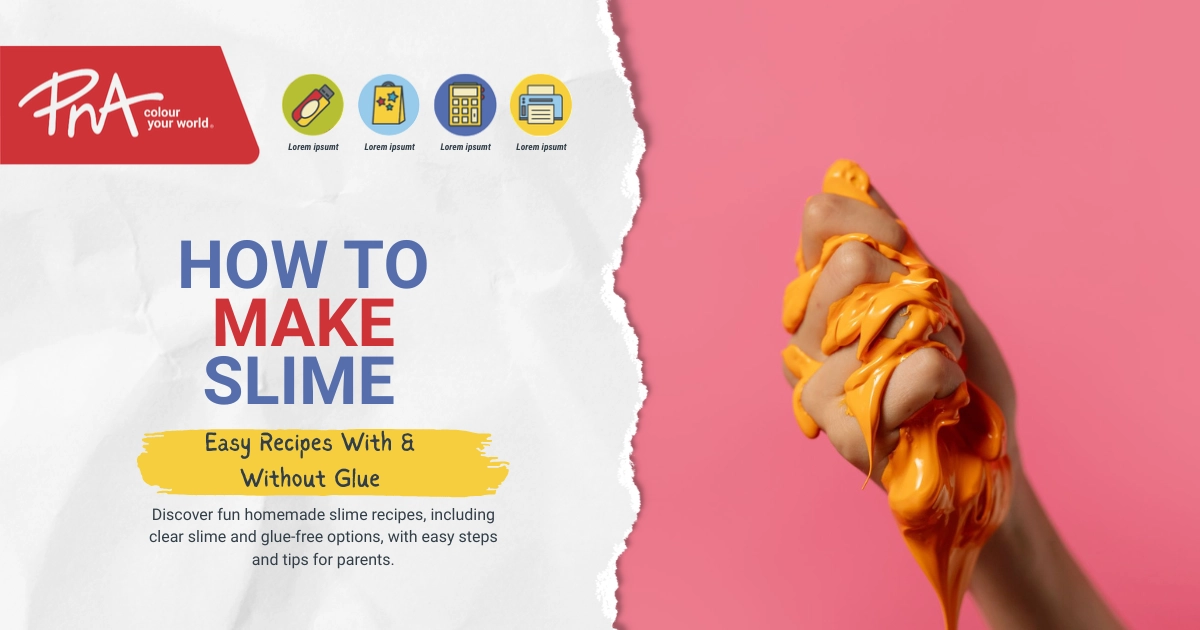
Learning how to make slime is a fun, hands-on activity that children can enjoy at home or during school holidays. To make classic slime, mix white PVA glue with bicarbonate of soda, then gradually add contact lens solution until the mixture forms a stretchy dough.
The best part? You only need a few ingredients to get started!
Whether your child loves colourful slime, wants to experiment with clear slime or prefers a recipe without glue, there are several easy ways to make it.
In this guide, we’ll show you how to make homemade slime step by step, explain how to fix common slime problems and share important safety tips for parents.
What Do You Need to Make Slime?
To make classic homemade slime, you need white PVA school glue, bicarbonate of soda and contact lens solution containing boric acid or sodium borate. You can also add food colouring or glitter to create different colours and textures.
Ingredients for Classic Slime
| Ingredient | Quantity | Purpose |
|---|---|---|
| White PVA school glue | ½ cup | Forms the base of the slime |
| Bicarbonate of soda | ½ teaspoon | Helps prepare the mixture |
| Contact lens solution | 1 tablespoon | Activates the slime |
| Food colouring | A few drops | Adds colour |
| Glitter | Optional | Adds sparkle |
Important: The contact lens solution must contain boric acid or sodium borate for this recipe to work. Not all contact lens solutions contain these ingredients.
Equipment You’ll Need
Before getting started, gather a mixing bowl, spoon, measuring cups and a clean surface for kneading.
You may also want to use an apron to protect your child’s clothing.
PNA offers a selection of cold glue and craft glue for creative activities.
For this particular recipe, make sure the glue you choose is PVA-based and suitable for slime making.
How to Make Slime With Glue: Easy Step-by-Step Recipe
To make slime with glue, combine PVA glue and bicarbonate of soda, then slowly stir in contact lens solution until the mixture thickens. Knead the slime until it becomes smooth and stretchy.
This classic slime recipe is a great starting point for beginners.
Step 1: Pour the Glue Into a Bowl
Measure ½ cup of white PVA school glue and pour it into a clean mixing bowl.
White glue creates an opaque slime that works well with bright colours.
Step 2: Add Bicarbonate of Soda
Add ½ teaspoon of bicarbonate of soda to the glue.
Stir thoroughly until the ingredients are combined and the mixture looks smooth.
Step 3: Add Your Favourite Colour
If you want colourful slime, add a few drops of food colouring.
Mix until the colour is evenly distributed.
You can also add a little glitter for extra sparkle.
Creative idea: Make separate batches of pink, blue and purple slime, then gently twist them together to create a colourful swirl.
Step 4: Add the Contact Lens Solution
Slowly add the contact lens solution while stirring continuously.
Start with a small amount rather than adding the entire tablespoon at once.
As you stir, the mixture should begin to thicken and pull away from the sides of the bowl.
Step 5: Knead the Slime
Once the mixture forms a soft dough, remove it from the bowl.
Knead it with your hands for approximately 2–3 minutes until it becomes smoother and stretchier.
If the slime is still too sticky, add a few more drops of contact lens solution and continue kneading.
Avoid adding too much activator, as this can make the slime stiff.
Your homemade slime is now ready to play with!
How Do You Make Clear Slime?
Clear slime is made using the same basic recipe as classic slime, but with clear glue instead of white glue. Allowing the finished slime to rest in a sealed container helps air bubbles disappear, creating a more transparent appearance.
Clear slime is especially popular for adding glitter, colourful decorations and other visual effects.
How to Make Clear Slime Step by Step
- Pour ½ cup of clear glue into a mixing bowl.
- Add ½ teaspoon of bicarbonate of soda and stir gently.
- Slowly mix in up to 1 tablespoon of suitable contact lens solution until the slime forms.
- Knead the mixture until it becomes stretchy.
- Place the slime in an airtight container and leave it undisturbed for 2–3 days.
The resting period allows trapped air bubbles to settle, giving the slime a clearer, glass-like appearance.
For this activity, explore PNA’s range of clear glue and gel.
Choose a clear glue that is suitable for slime making.
How to Make Slime Without Glue
You can make slime without glue by mixing approximately two parts cornflour with one part water. This creates a fascinating mixture that feels solid when squeezed but flows like a liquid when released.
This type of slime is often called oobleck.
Unlike traditional glue slime, it is not stretchy. Instead, it is a fun sensory activity that demonstrates how certain mixtures behave differently under pressure.
Ingredients for Slime Without Glue
| Ingredient | Quantity |
|---|---|
| Cornflour | 1 cup |
| Water | Approximately ½ cup |
| Food colouring | A few drops, optional |
How to Make Cornflour Slime
- Add the cornflour to a large mixing bowl.
- Slowly pour in the water while stirring.
- Add a few drops of food colouring if desired.
- Mix until the ingredients are combined.
- Test the consistency by squeezing a handful of the mixture.
When you squeeze it firmly, the mixture should feel relatively solid.
When you relax your hand, it should begin flowing between your fingers.
If the mixture is too runny, add a little more cornflour. If it is too dry, add water gradually.
Why Does Cornflour Slime Behave Like That?
Cornflour slime is an example of a non-Newtonian fluid.
This means its behaviour changes depending on the force applied to it.
When pressure is applied quickly, the mixture becomes more resistant to movement. When left alone, it flows more easily.
It’s a simple way to introduce children to basic science concepts while having fun.
Tip for parents: Place a tray underneath the bowl to make cleaning up easier.
Why Is My Slime Sticky, Runny or Hard?
Slime consistency depends on the balance between glue and activator. Sticky slime may need slightly more activator, while stiff slime may contain too much. Adjusting the ingredients gradually can help improve the texture.
Common Slime Problems and How to Fix Them
| Problem | Possible Cause | How to Fix It |
|---|---|---|
| Slime is too sticky | Not enough activator | Add a few drops of contact lens solution and knead |
| Slime is too runny | Mixture has not activated properly | Check the contact lens solution ingredients and mix again |
| Slime is too hard | Too much activator | Knead in a little warm water or more glue |
| Slime breaks when stretched | Mixture is too stiff | Gently knead and adjust the moisture |
| Clear slime looks cloudy | Air bubbles are trapped | Leave it in a sealed container for 2–3 days |
The key to successful slime is patience.
Add ingredients gradually and give the mixture enough time to combine before making further adjustments.
Is Homemade Slime Safe for Children?
Homemade slime can be a fun supervised craft activity, but ingredients such as glue and contact lens solution must be handled carefully. Slime is not edible and should not be used by young children who may put it in their mouths.
Parents should supervise every stage of slime making, including mixing and playing.
Important Slime Safety Tips
- Always supervise children. An adult should handle and control the ingredients.
- Never eat slime. Homemade slime is not food, even when it contains ingredients commonly used in cooking.
- Wash hands before and after playing. This helps maintain good hygiene.
- Avoid contact with eyes and mouth. Keep slime and its ingredients away from the face.
- Stop if irritation occurs. If skin becomes red or itchy, stop playing and rinse thoroughly with water.
- Store ingredients safely. Keep contact lens solution and other ingredients out of children’s reach.
Children with sensitive skin should take extra care when handling homemade slime.
For added protection during messy activities, browse PNA’s selection of kids’ aprons.
For younger children, play dough may be a more suitable alternative when chosen according to the product’s age recommendations.
How Do You Store Homemade Slime?
Homemade slime should be stored in a clean, airtight container or sealed plastic bag when it is not being used. Proper storage helps prevent the slime from drying out and keeps it cleaner between play sessions.
For best results, follow these simple storage tips:
- Place the slime in a clean, airtight container after playing.
- Keep the container away from direct sunlight and excessive heat.
- Avoid mixing dirt, food or other materials into the slime.
- Wash hands before handling stored slime.
- Discard the slime if it develops an unusual smell, changes appearance or becomes contaminated.
Homemade slime may remain usable for approximately a week, although its lifespan depends on the ingredients, storage conditions and how frequently it is handled.
Always check the slime before allowing children to play with it again.
What Other Slime Activities Can Kids Try?
Once children have mastered the basic recipe, they can experiment with different colours and textures.
Here are a few creative ideas:
Rainbow Slime: Make several small batches using different food colouring shades, then arrange them together to create a rainbow effect.
Glitter Slime: Add a small amount of craft glitter to the glue mixture before adding the activator.
Pastel Slime: Use white glue and a tiny amount of food colouring to create soft pastel shades.
Clear Glitter Slime: Combine clear glue with glitter and allow the finished slime to rest until the bubbles settle.
These activities encourage creativity, colour experimentation and hands-on learning.
Frequently Asked Questions About Making Slime
Can You Make Slime Without Contact Lens Solution?
Yes. You can make a glue-free slime alternative using cornflour and water. Mix approximately two parts cornflour with one part water to create a sensory mixture that feels firm when squeezed and flows when released. It will not have the same stretchy texture as traditional glue slime.
Why Won’t My Slime Activate?
Slime may fail to activate if the contact lens solution does not contain boric acid or sodium borate. Check the ingredient label before starting. Also make sure you’re using suitable PVA glue and adding the activator gradually while mixing thoroughly.
How Long Does Homemade Slime Last?
Homemade slime may remain usable for approximately one week when stored in a clean, airtight container. Its lifespan varies depending on the ingredients and handling. Discard slime if it develops an unusual smell, changes appearance or becomes contaminated.
How Do You Get Slime Out of Clothes?
Remove as much slime as possible without rubbing it further into the fabric. Check the clothing care label, then gently work on the residue using an appropriate cleaning method for the slime ingredients. Avoid heat until the stain has been removed.
For more helpful cleaning tips, read our guide to removing glue, permanent marker, stickers and paint.
Get Creative With Arts and Crafts at PNA
Making slime is a fun way to keep children entertained while encouraging creativity, experimentation and hands-on learning.
Whether you’re planning a rainy-day activity, a school holiday craft session or an afternoon of creative play, having the right supplies makes getting started easier.
At PNA, you’ll find a wide selection of art and craft essentials, including glue, creative materials and protective aprons for messy projects.
Explore PNA’s arts and crafts supplies and get everything you need for your next creative activity.