If you have ever wanted to try printmaking but felt slightly intimidated by presses, carving tools, or complicated techniques, Gelli printing might be exactly what you are looking for.
Gelli printing, also known as Gelli plate mono-printing, is immediate, experimental, and surprisingly addictive. You roll on paint, press paper down, lift it up and just like that, you have a print. No two are ever the same. That unpredictability is part of the magic.
The best part is that you do not need a full print studio. With a Gelli plate, acrylic paint, a brayer and a few everyday textures, you can start creating layered, vibrant prints at home. Everything you need is available at PNA, from Gelli plates and acrylic paints to brayers, stencils and quality paper.
Let’s break it down.
What Is Gelli Printing?
Gelli printing is a form of mono-printing, which means you create one-of-a-kind prints using a flexible gel printing plate. Unlike traditional printmaking, there is no carving or etching involved.
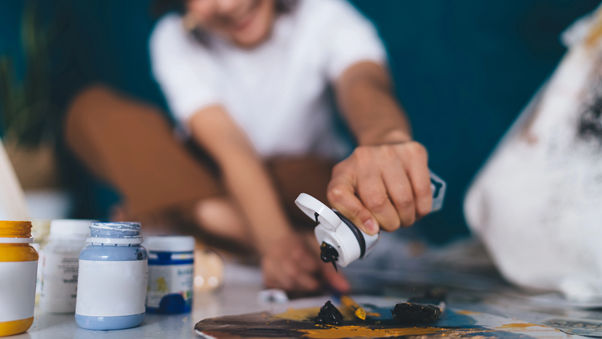
You apply acrylic paint to the surface of the Gelli plate, create texture, press paper on top and pull a print. That is the core process. From there, things can get beautifully layered and experimental.
Because the setup is simple and the results are immediate, Gelli printing has become popular in classrooms, art clubs and home studios. It works brilliantly for adults and older children who want to explore colour and pattern without worrying about perfection.
The Basic Supplies You Will Need
To get started with Gelli plate printing, you will need:
- A Gelli plate
- Acrylic paint
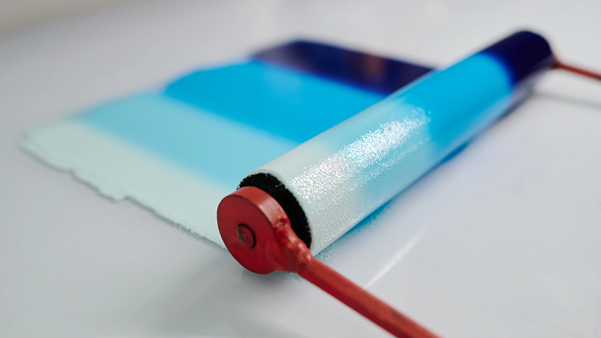
- A brayer
- Smooth paper or mixed media paper
- A flat work surface
- Texture tools such as leaves, stencils, bubble wrap or cardboard
At PNA, you will find a range of acrylic paints, brayers, printmaking tools, mixed media paper pads and stencils to build your kit properly.
Good paper matters. While you can experiment with printer paper, a thicker art paper or mixed media pad will handle layered acrylic paint far better.
The Core Gelli Printing Process
Once your materials are ready, the process is simple.
1. Apply Paint in Thin Layers
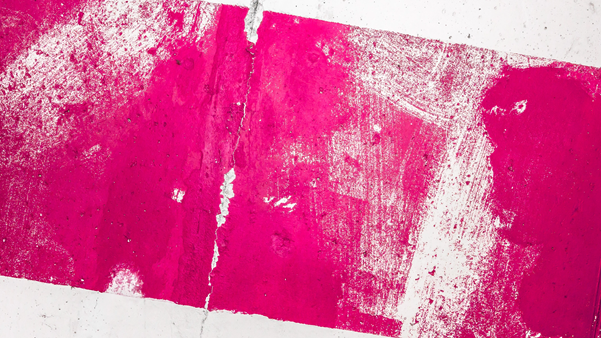
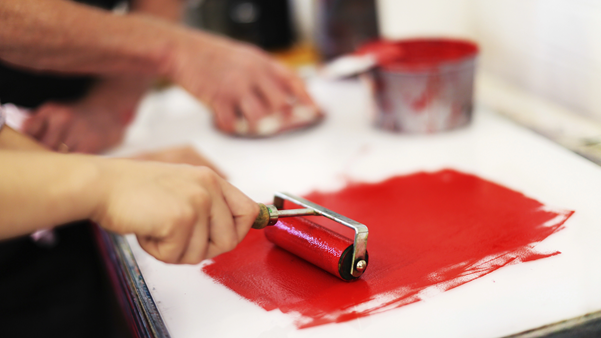
Squeeze a small amount of acrylic paint onto the Gelli plate. Less is more. Using a brayer, roll the paint out into a thin, even layer. Thick paint tends to create blobs and can muddy colours quickly.
A smooth, thin layer gives you better detail and cleaner textures.
2. Add Texture and Pattern
This is where the fun begins.
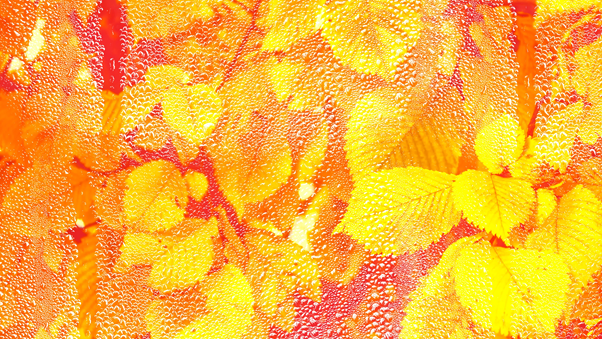
Press leaves into the paint. Lay down a stencil. Roll bubble wrap across the surface. Draw lines into the paint using the end of a paintbrush. Even simple objects like corrugated cardboard or string can create interesting marks.
You are not aiming for neatness. You are exploring surface and pattern.
3. Pull the Print
Place your paper gently onto the plate. Press it down with your hands, smoothing lightly to ensure contact. Then peel it back slowly.
That reveal moment never gets old.
Set the print aside to dry before adding more layers.
Building Layered Prints for Rich Results
One of the most exciting aspects of Gelli printing is layering.
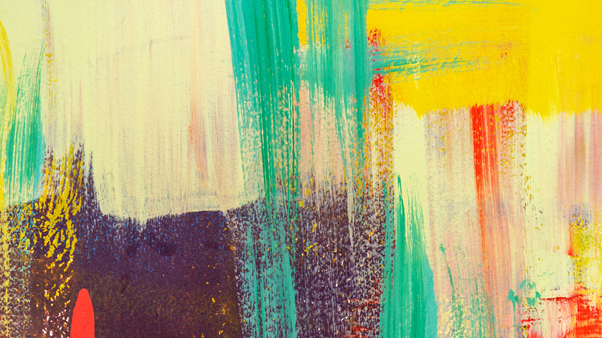
Once your first print is dry, you can place it back onto the plate and add another thin layer of paint and texture. Each layer interacts with the ones beneath it, creating depth and complexity.
This is how you move from a simple print to a rich, layered mono-print with visual interest.
To avoid muddy tones, think about colour combinations before you start. Try:
- Warm colours together, like red, orange and yellow
- Cool combinations, like blue, teal and violet
- A neutral base layer with one bold accent colour
If you mix too many complementary colours in one layer, such as red and green or blue and orange, the result can quickly turn brown. Sometimes that is intentional. Often it is not.
Work in limited palettes. Let layers dry between pulls. Stay aware of how colours interact.
Using Found Objects for Everyday Texture
You do not need specialised tools to create interesting Gelli prints.
Nature and household items work beautifully.
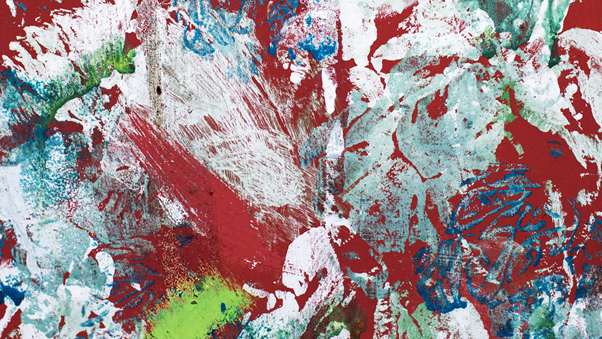
- Leaves create organic silhouettes
- Lace or mesh adds delicate pattern
- Bubble wrap creates playful texture
- Stencils bring repetition and structure
- Old credit cards can scrape through paint for bold marks
This is part of what makes Gelli printing so accessible. It encourages you to see ordinary objects as creative tools.
For classrooms or art clubs, this opens up endless experimentation without expensive equipment.
Embrace the “Ghost Print”
Here is a tip that beginners often overlook.
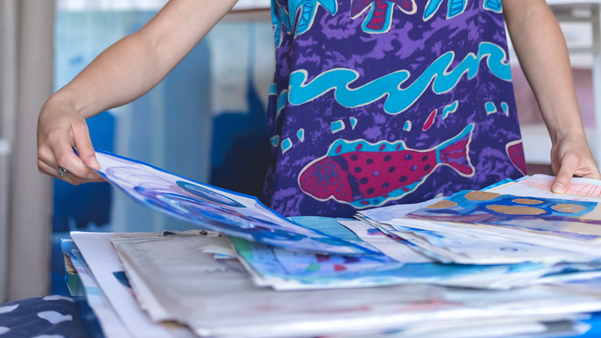
After you pull your first print, there is usually paint left on the Gelli plate. Instead of cleaning it immediately, press a new sheet of paper onto the plate and pull a second print.
This is called a ghost print.
Ghost prints are often softer, more subtle and unexpectedly beautiful. Sometimes they are even more interesting than the original pull.
Do not waste that leftover paint.
Repurposing Your Gelli Prints
Once you start printing, you will quickly build a stack of layered papers. Instead of letting them sit in a drawer, use them.
Gelli prints are perfect for:
- Handmade greeting cards
- Bookmarks
- Journal covers
- Scrapbooking backgrounds
- Mixed media collages
- Classroom art projects
Cut them into shapes. Tear them for collage. Layer them with ink, pen or paint. Because each print is unique, even small pieces feel special.
PNA stocks blank cards, craft cutters, adhesives and mixed media supplies that make it easy to turn your prints into finished creative projects.
Exploration Over Perfection
The most important mindset shift with Gelli printing is this: you are not aiming for perfect results.
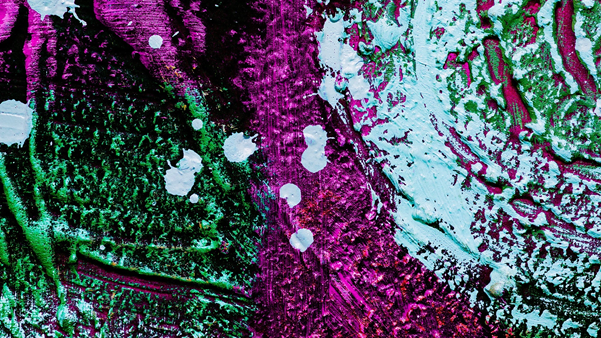
Some prints will be bold and graphic. Others will feel messy. Some colour combinations will surprise you in good ways. Others will not work at all.
That is the point.
Gelli plate mono-printing is about exploration. It invites you to experiment with colour, texture and layering without the pressure of precision. For adults, it can be deeply meditative. For older children, it is playful and freeing.
When you let go of control, you often discover unexpected combinations that feel far more dynamic than anything carefully planned.
Bringing Printmaking Home
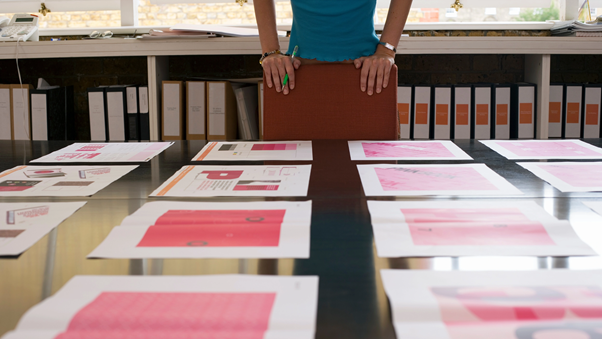
Gelli printing proves that printmaking does not have to be complicated or exclusive. With a Gelli plate, acrylic paint, a brayer and a few found textures, you can create layered, one-of-a-kind prints right at your kitchen table.
Whether you are a teacher planning an art club session, a parent looking for a weekend creative activity, or an artist exploring mixed media techniques, Gelli printing is accessible, versatile and endlessly engaging.
And when you are ready to get started, you will find Gelli plates, acrylic paints, brayers, stencils, quality paper and craft supplies at your nearest PNA store.
All you need to bring is a willingness to experiment.