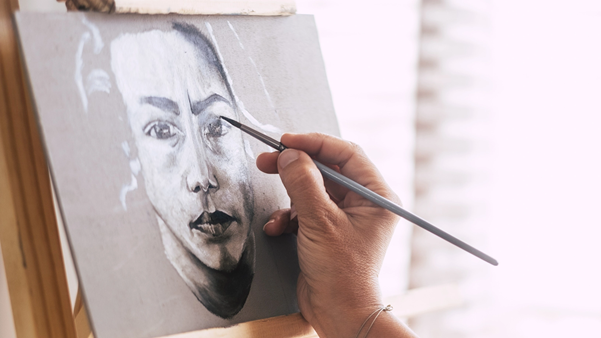
Portraits can feel intimidating.
You start with enthusiasm. The outline looks promising. Then one eye shifts slightly too high, the nose feels too long, and suddenly the whole face looks… wrong.
Here’s the truth: strong portrait drawing is not about talent. It is about structure, proportion, light and observation. Once you understand those foundations, portrait sketching becomes far less mysterious and far more manageable.
Whether you are working in pencil, charcoal, acrylic or watercolour, this practical guide will help you approach portrait drawing and painting with clarity and confidence.
Start with Structure: Build the Head First
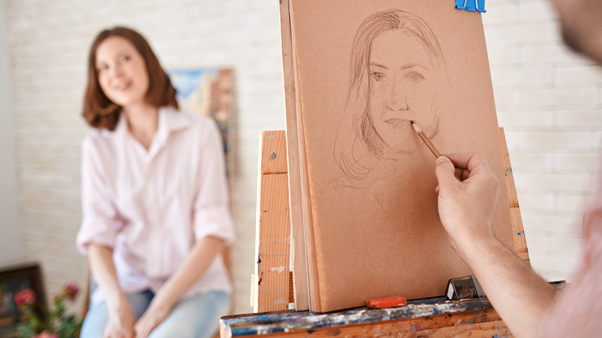
Before you draw eyes, lashes or lips, you need structure.
One of the most reliable portrait drawing techniques for beginners is starting with simple shapes. Think sphere and jaw, not “face”.
What you’ll need from PNA:
• A quality sketchbook
• HB and 2B pencils
• A kneadable eraser
• A ruler (optional for beginners)
Step 1: Draw the basic form
Start with a circle. This represents the cranium. Then add a vertical line down the centre and a horizontal line across the middle. These are your guidelines for symmetry and eye placement.
Add a jawline beneath the circle to form the full head shape. Keep it light. You are building a framework, not a finished drawing.
Step 2: Understand proportion
A common mistake in portrait sketching is placing the eyes too high. In reality, the eyes sit roughly halfway down the head.
From the eye line:
• The bottom of the nose sits about halfway between the eyes and chin.
• The mouth sits roughly one-third of the way between nose and chin.
These proportional guides are not rigid rules, but they give you a solid starting point. Once the structure is in place, everything else becomes easier.
Map the Features by Measuring, Not Guessing
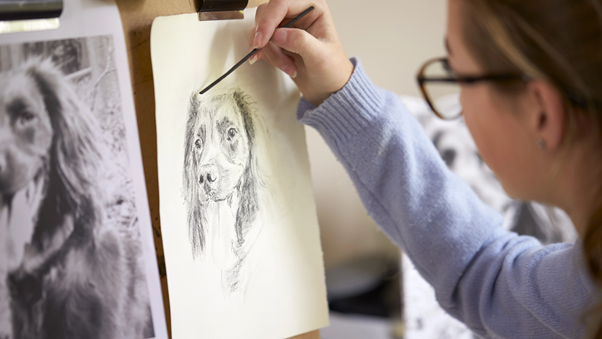
Portrait drawing becomes frustrating when we rely on memory. We draw what we think an eye looks like instead of what we actually see.
A simple exercise: hold your pencil at arm’s length and use it to measure relative distances in your reference image. Compare the width of the nose to the width of one eye. Notice how much space sits between the lips and chin.
This technique trains your eye to see proportion instead of assumption.
Remember: faces are rarely perfectly symmetrical. Slight differences between the left and right sides are normal. In fact, those subtle variations are what make portraits feel believable.
Stop Drawing Outlines. Start Seeing Light and Shadow
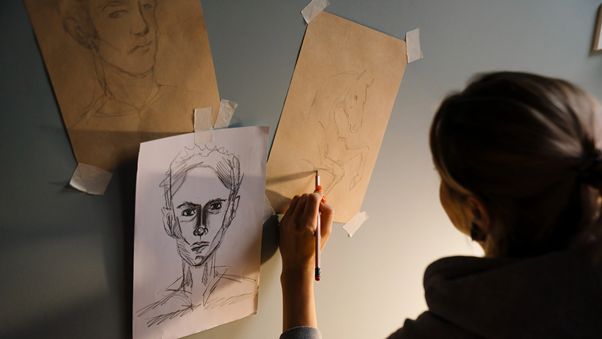
If your portraits look flat, the issue is usually not the features. It is the lack of tonal structure.
Strong portrait drawing is built on value, not lines.
Simplify the face into light and dark
Squint at your reference image. When you squint, details disappear and you see larger shapes of shadow and light.
Ask yourself:
• Where is the darkest shadow?
• Where is the lightest highlight?
• What shapes do those shadows create?
Using graphite pencils, charcoal or drawing sticks from PNA, block in the larger shadow areas first. Think in terms of shapes, not eyelashes.
Shadow placement defines form. Outlines simply describe edges.
Building Depth with Tone and Value
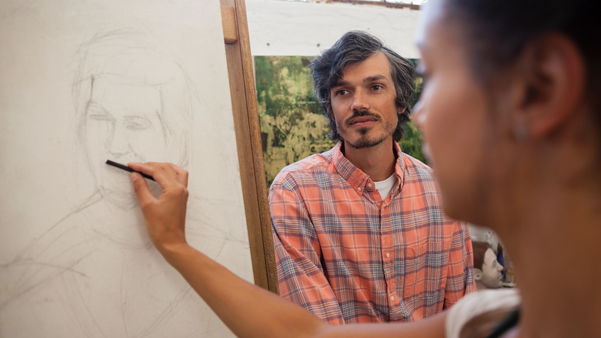
In both portrait sketching and portrait painting, value does the heavy lifting.
Start by establishing three basic tonal zones:
- Light
- Mid-tone
- Dark
Do not jump straight to details. Instead, fill in the large shadow areas gently. Blend softly where needed using a blending stump or tissue.
When working in charcoal drawing, build layers gradually. When using acrylic paints or watercolours, block in major light and dark areas before refining features.
This technique works across mediums:
• Pencil portrait drawing
• Charcoal portrait sketching
• Acrylic portrait painting
• Watercolour portrait techniques
The principle is the same. Structure first. Tone second. Details last.
Colour Blocking in Portrait Painting
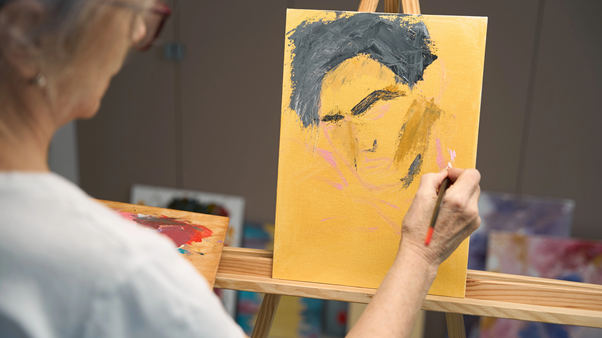
If you are painting, resist the urge to mix “skin colour” immediately.
Instead, think in temperature and value.
Step 1: Block in major colour areas
Using acrylic paints or watercolours from PNA, identify:
• Warm areas (cheeks, nose, ears)
• Cooler areas (jawline, under-eye shadows)
• Deep shadows
Lay down these colour blocks loosely. Do not worry about blending perfectly yet.
Step 2: Refine gradually
Once your light and dark shapes are established, begin softening transitions. Add smaller variations within the mid-tones. Only then move to fine details like eyelashes or skin texture.
Colour blocking creates depth far more effectively than outlining every feature.
Train Your Eye: Draw What You See
One of the biggest breakthroughs in portrait drawing for beginners is learning to observe without judgement.
Try this quick exercise:
• Turn your reference image upside down.
• Draw what you see as abstract shapes instead of “an eye” or “a nose.”
This removes the brain’s tendency to simplify features into symbols. You begin to notice subtle angles, curves and spacing.
Another powerful exercise is contour drawing. Without looking at your paper, slowly trace the outline of a face with your eyes while drawing continuously. It feels strange, but it sharpens observation skills dramatically.
Choosing the Right Art Supplies for Portrait Work
Confidence also comes from using tools that feel reliable.
For portrait drawing, look for:
• Smooth sketchbooks that handle layering
• A range of graphite pencils (HB to 6B)
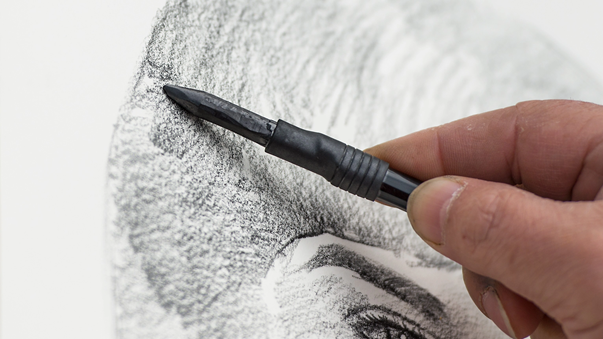
• Charcoal sticks for expressive tonal work
• Kneadable erasers for lifting highlights
For portrait painting:
• Quality acrylic paints or watercolours
• A selection of flat and round brushes
• A mixing palette
• Sturdy canvas or watercolour paper
PNA stocks a wide range of drawing supplies, sketchbooks, charcoal sets, acrylic paints and watercolour materials, making it easy to experiment across mediums while developing your portrait skills.
Confidence Comes from Process, Not Perfection
Portraiture feels intimidating because we focus on the final result instead of the process.
But when you:
• Start with structure
• Measure proportion carefully
• Simplify into light and dark
• Block in tone before detail
The face begins to make sense.
Strong portrait drawing and painting is not about getting every eyelash right. It is about understanding form, value and observation.
With the right techniques and reliable art supplies from PNA, portrait sketching becomes less about fear and more about curiosity.
And once you stop chasing perfection, you will find that faces start coming together far more confidently than you expected.