
Weekend Crafternoon: Easy Projects to Do With Friends
Grab your girls, clear the dining table, and get ready for a feel-good creative session. This Women’s Month, we’re turning the weekend into a Crafternoon—because nothing says quality time like making something with your hands (and a few snacks within reach).
Sometimes the best way to spend time with your favourite people is to sit around a table, mess everywhere, paint on your hands, and a playlist in the background. That’s the joy of a Crafternoon—zero pressure, just creativity, laughs, and a few handmade gems to take home.
And since it’s Women’s Month, what better excuse to gather the gang and get making? Whether you’re celebrating your sisters, your circle of friends, or yourself, these projects are easy to set up, fun to customise, and perfect for all skill levels. So, brew a pot of tea, open the windows, and dive into one (or a few) of these weekend DIYs.
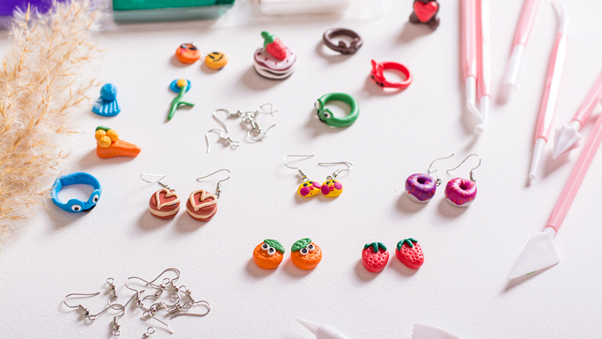
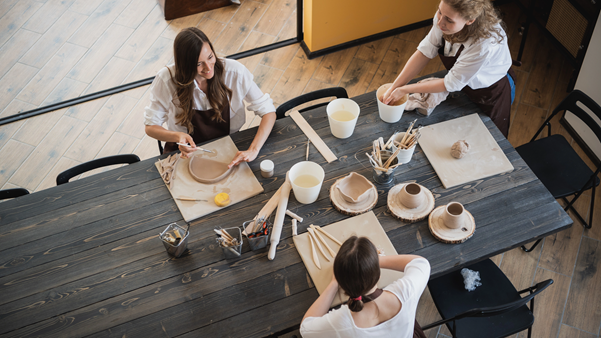
Air-Dry Clay Earrings
Skill level: Beginner
Time needed: 1–2 hours (plus drying time)
This one’s a crowd-pleaser. Air-dry clay is super versatile, and you don’t need a kiln or fancy tools. Shape fun geometric forms, hearts, rainbows, florals—whatever you like. Once dry, sand them down gently and paint them in your favourite colours. Add earring hooks and boom—instant handmade flair.
How to:
- Roll your clay to about 3mm thick.
- Use a craft knife or cookie cutter to cut out shapes.
- Poke small holes where your jump rings will go.
- Let dry fully (around 24 hours).
- Paint, seal if needed, and attach your earring findings.
You’ll need:
- Dala air-dry clay
- Small rolling pin or bottle
- Earring hooks and jump rings
- Acrylic paint and brushes
- Toothpick or skewer for making holes
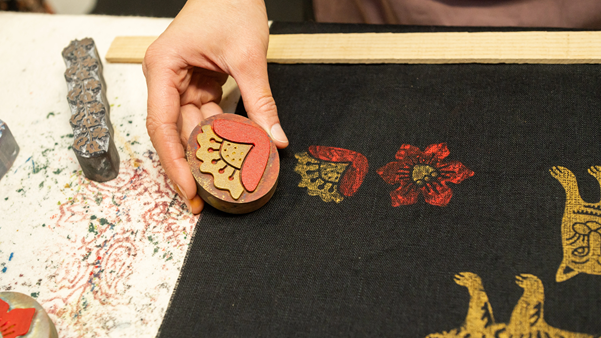
DIY Tote Bag Stamping
Skill level: Easy and addictive
Time needed: 1 hour
Plain totes become personal statements with a little paint and pattern. You can carve your own stamps out of craft foam or use everyday items like leaves, sponges, and cookie cutters. Just dip in fabric paint and go wild. These make great gifts too—if you can bear to part with them.
How to:
- Lay your tote bag flat and place cardboard inside to avoid paint bleeding.
- Apply fabric paint to your stamp using a brush or sponge.
- Press firmly onto the bag and lift.
- Let dry completely before heat-setting with an iron (check your paint instructions).
You’ll need:
- Plain cotton tote bags
- Textile or fabric paint
- Craft foam and scissors (or found objects to stamp)
- Paintbrush or sponge
- Paper plates for mixing colours
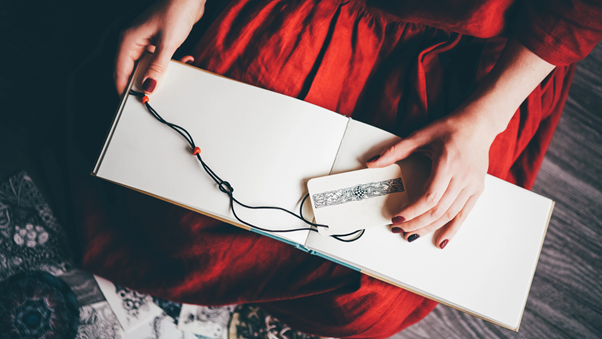
Painted Bookmarks
Skill level: Very beginner-friendly
Time needed: 30–45 minutes
Quick, relaxing and surprisingly pretty, bookmarks are a great warm-up activity. Use watercolours, fineliners, or pastels to decorate strips of cardstock with florals, abstract shapes, or your favourite quotes. Punch a hole and add some ribbon or string for a sweet finishing touch.
How to:
- Cut your paper into strips (about 5cm x 15cm).
- Decorate with paints, doodles, or lettering.
- Let dry, then punch a hole at the top.
- Thread ribbon, twine or yarn through the hole.
You’ll need:
- Cardstock or thick paper
- Watercolours, pencils or markers
- Ruler and craft knife or scissors
- Hole punch and ribbon or twine
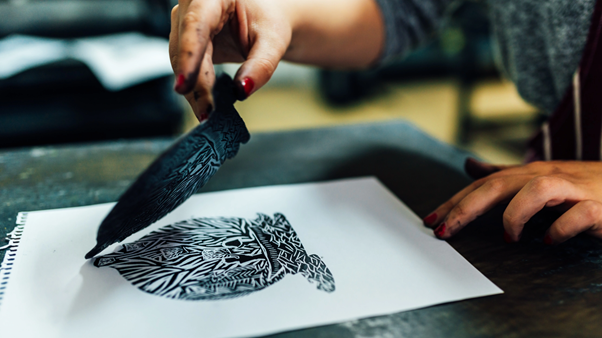
Lino Printing for Beginners
Skill level: Intermediate (but doable with guidance)
Time needed: 1–2 hours
If you’re feeling a little more ambitious, lino printing is both satisfying and seriously cool. Carve a simple design into a soft lino block, roll on some ink, and print onto paper, fabric, or cards. The process is meditative, and the results are super rewarding.
How to:
- Sketch your design onto the lino block (remember, it prints in reverse).
- Carefully carve out the negative space using a lino cutter.
- Roll ink onto the carved surface with a brayer.
- Press your block onto paper or fabric and apply gentle pressure.
- Lift carefully and admire your print.
You’ll need:
- Soft-cut lino blocks
- Lino cutting tools
- Block printing ink
- Brayer (ink roller)
- Paper, cards or fabric to print on
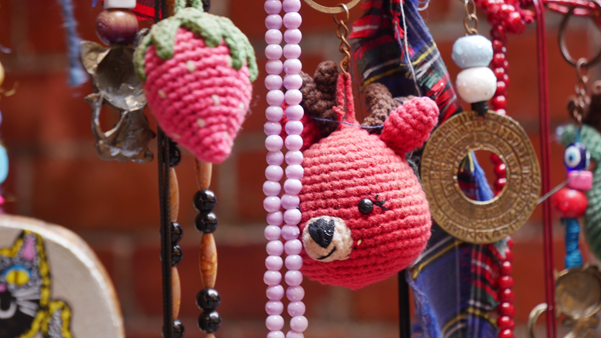
DIY Beaded Keyrings or Bag Charms
Skill level: Beginner
Time needed: 45 minutes to 1 hour
This one’s fun, functional, and super customisable. Use colourful beads, letter blocks, tassels, or even shrink plastic charms to create keyrings or bag accessories that show off your style. Everyone walks away with something cute and usable—and it’s the kind of craft that works well while chatting around a table.
How to:
- Cut a piece of beading cord or elastic to about 20–25cm.
- Thread on a mix of beads, letter blocks, or charms.
- Tie off with a secure knot and attach to a keyring loop or lobster clasp.
- Add a tassel or ribbon for extra flair.
You’ll need:
- Pony beads, wooden beads, or letter beads
- Keyring loops or clasps
- Elastic cord or waxed thread
- Scissors and optional tassel embellishments
Crafternoon Tips
- Keep it casual: No pressure to finish or be “good at art.”
- Share supplies: Set up a communal craft table with shared tools and materials.
- Play music: A good playlist adds to the creative vibes.
- Snacks matter: Finger foods, fresh fruit and something sweet always help.
- Take photos: Document the chaos and the creations.
Wrap-Up
Crafting with friends isn’t just about what you make—it’s about the joy of slowing down, connecting and creating together. These little projects are great reminders that making things by hand is always better with good company (and maybe a cupcake or two).
So, stock up at PNA, send out a group message, and plan your very own Women’s Month Crafternoon. Make it colourful. Make it messy. Make it meaningful.
Everything you need is waiting at your nearest PNA. The rest is up to you.
 No products in the cart.